How to chalk paint and glaze old cabinets under $200 - Part 3 - Glazing
After prepping and and chalk painting my cabinet doors, drawers and frames, I waited about two weeks before glazing. I wanted to make sure the paint was adequately set and to get a feel for the change in color. To be honest, we loved the color before I added the glaze. The way the room brightened up was amazing. The color reminded me of my great-grandmother's kitchen from the 1920s. Which was an unexpected bonus considering so many features in our home are from that era.
I finally decided to go ahead with the glazing. I thought it would give the kitchen a more weathered look to complement the butler's pantry and the new bar.
I had saved the doors from the cabinets we removed so I had a canvas on which to practice. I read countless blogs and watched dozens of YouTube videos on technique before I felt I was ready for a test run.
I tried about three different methods and finally settled on the one I describe below.
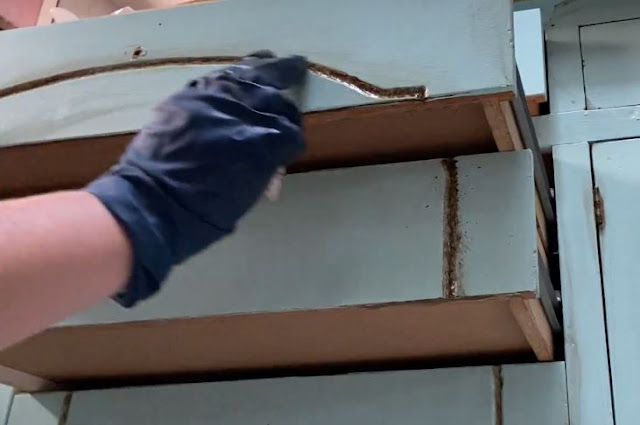
1. Wipe the cabinets with glaze using a lint free cloth. Work with one area at a time if using water based glaze as it dries quickly.
2. Using this method, brush the glaze with chippy brushes - Use a different brush for each step:
- Diagonal in one direction
- Diagonal in the opposite direction
- Against the grain
- With the grain
3. With a damp cloth or paper towel rub off some of the applied glaze.
4. Using a dry cloth or paper towel, wipe the glaze again.
5. Using a small brush, such as a watercolor brush, fill in the details
6. Using a clean chippy brush, feather the detail glaze

If you make a mistake, your glaze dries and it's too dark or you need to remove brush marks or runs, you can do so by spraying a little of the KRUD KUTTER PC326 PC32 Prepaint Cleaner/TSP Substitute on a Scotch-Brite Heavy Duty Scour Pad and wiping the area.
I have a YouTube video of this process you can watch here.
In the first part of the video, I skip step 2. If you want a darker look, you can skip or modify step 3 based on your preference.
Water based glaze dries very fast and it was safe to touch without smudging in 30 minutes.
I am so glad I decided to put the finishing touch on my cabinets and go with glazing!


Comments
Post a Comment